The pectin used to make commercial jams is usually gassed with sulfur dioxide and the juice used to make preserves is usually gassed as well. If I wanted no-sulfite-added preserves, I was going to have to make them myself.
Thus was my motivation to attempt canning for the first time.
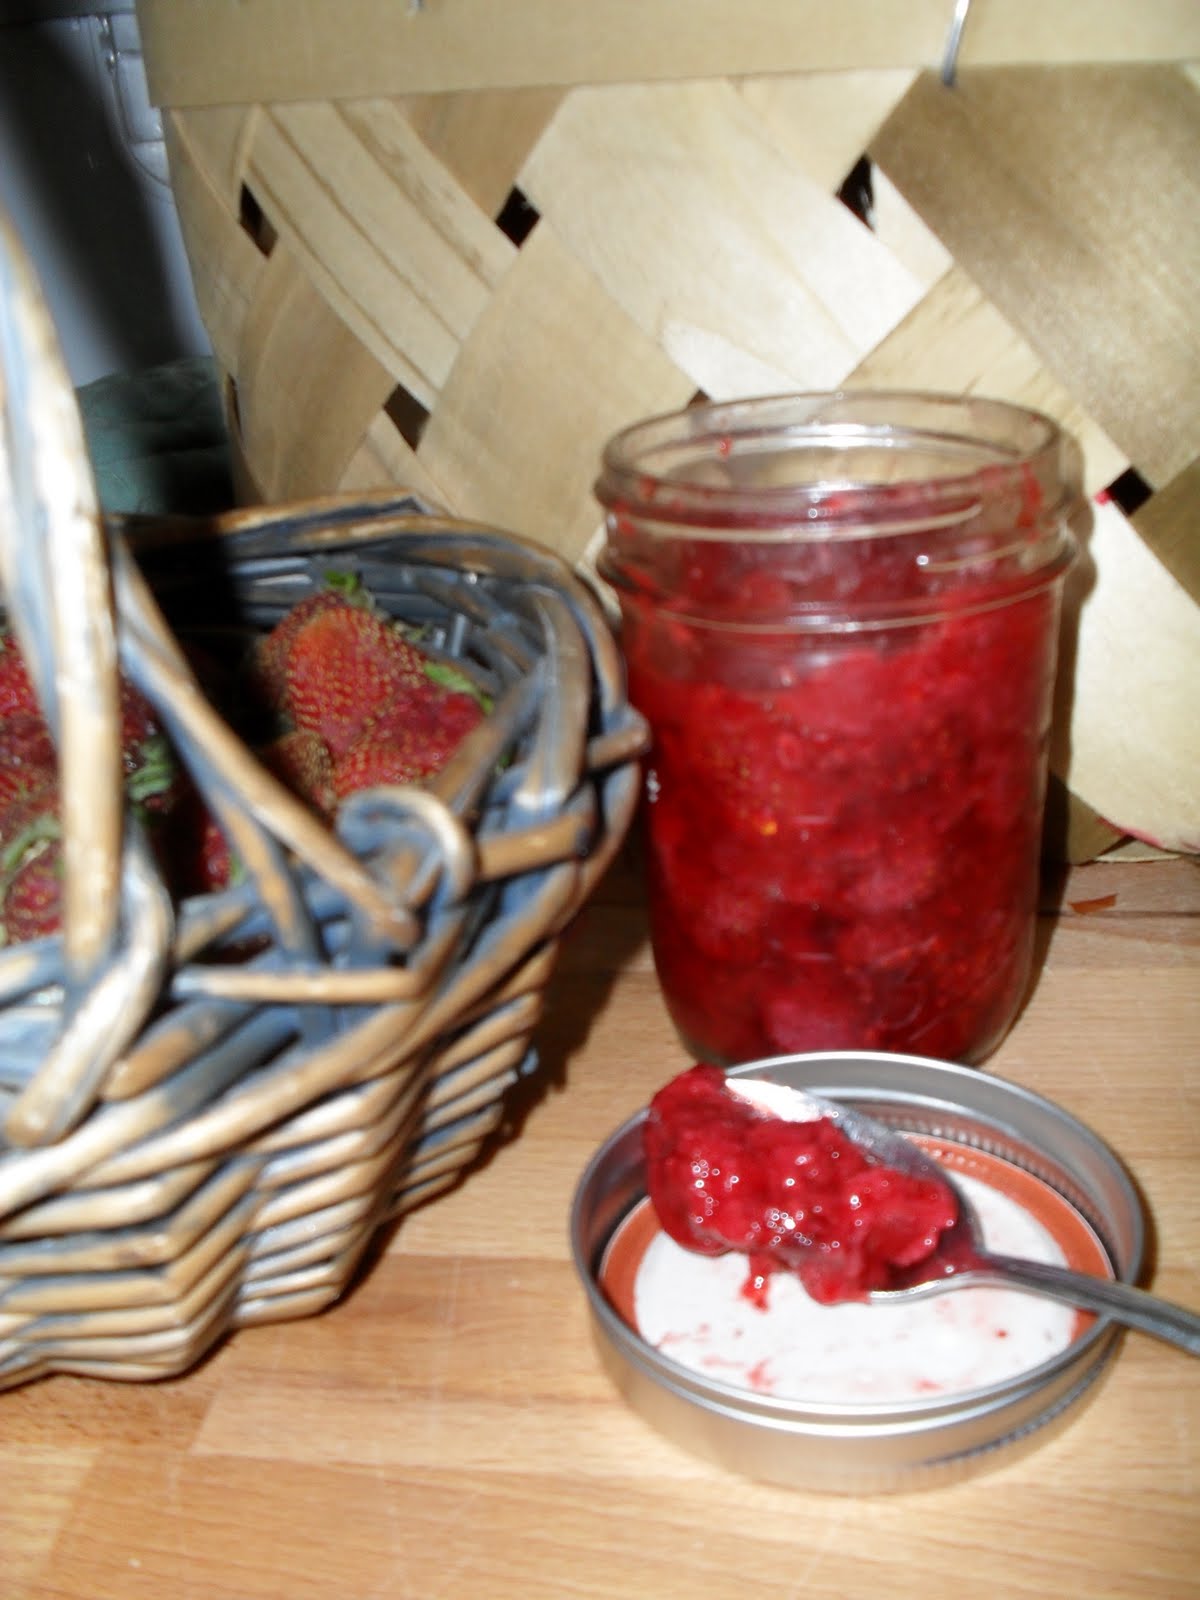
I am using a dry pack method. You will need 8 half-pint size canning jars, a candy thermometer, a pot with a lid, and canning rack that fits in your pot (you can buy this as a kit together or borrow one from a relative like I did).
Ingredients:
4 quarts of ripe strawberries
2 1/2 cups sugar
Directions:
1. Sterilize the jars. Put jars in a pot of water and boil for 5 minutes. Follow the directions on your jar package about what to do with the lids. Mine said to not boil the lids. Remove and empty your jars from the boiling and place them on a towel.
2. While your jars are sterilizing, make a strawberry syrup. Heat 2 quarts of mashed or sliced berries and 2 1/2 cups sugar, stirring often, until the mixture reaches 220 degrees or until it thickens and the strawberries mostly dissolve.
3. Next, pack your jars. Cut the caps off of the rest of the strawberries. Pack ripe strawberries into the jars and top with hot syrup. Important note: The jars must still be hot or they will explode. Leave 1/4 to 1/2 inch of empty space at the top of the jar. Run a clean knife along the walls to remove air. Wipe the lip of the jar with a clean damp towel before topping with the lid (My jars directions required me to warm the lids in hot, not boiling water, but check the manufacturer's directions for your lids). Last, screw the lid ring on the jar. Repeat this process for remaining jars.
4. Sterilize your jam if you want it to be shelf stable (otherwise allow jars to cool completely and put them in the refrigerator where they will last 3 months unopened). Your water should still be hot in the pot from sterilizing your jars, so put the jars in your rack and lower it into the water. Add more water so that the jars have at least one inch of water over the lids. Increase the heat to get and maintain a gentle boil. Once the water boils, cover and maintain boil for 10 minutes. If the water level drops, add more boiling water. If boiling stops, bring the water to a boil again and restart the time from the beginning. After 10 minutes, turn off the heat and allow jars to cool enough to handle.
5. Remove the jars from the water and place on a towel. Allow the jars to sit undisturbed for 12 hours. Remove the rings and test lids for seals. If lid is not sealed, store the jar in the refrigerator for up to 3 months. If it is sealed, store the jar in a cool, dark place for up to a year.
No comments:
Post a Comment